


Urban Sketch: Berlin Park in the Summer
In this blog post, the artist and urban sketcher Danny Hawk shares his tips and tricks for creating a sketchbook drawing with ink and watercolor, thereby demonstrating his approach to urban sketches with a mixture of nature and architecture.
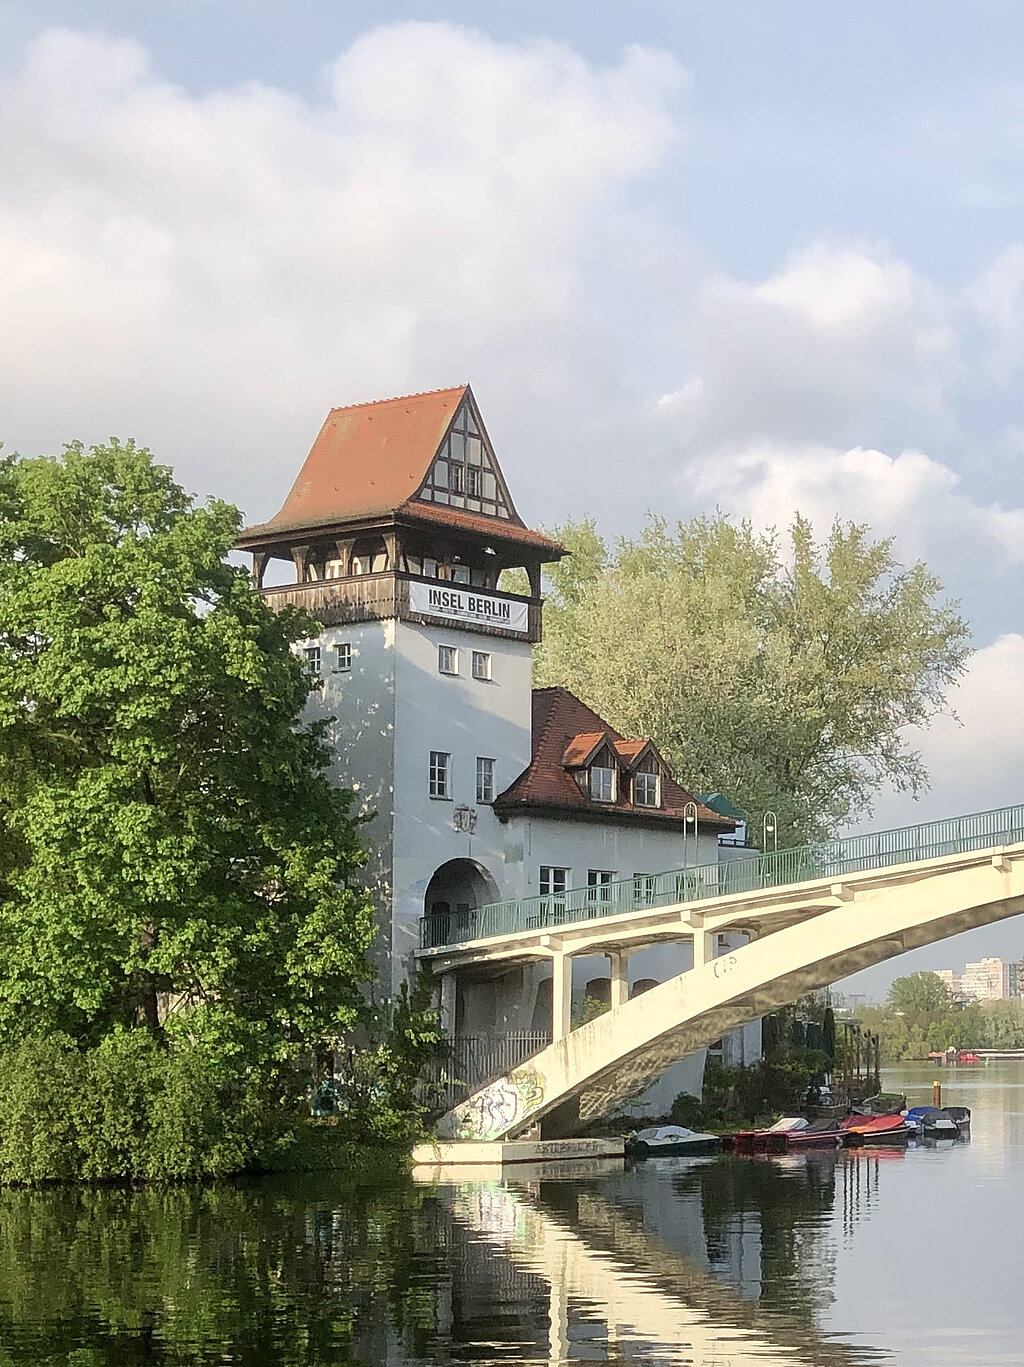
For the sake of this blog post, Danny has used a reference photo from Treptower Park - a green space in the eastern part of Berlin - although he normally creates his artwork outside on location.
Advanced sketchers are welcome to follow the step-by-step tutorial completely, while beginners may feel more comfortable leaving out the water and reflections and stopping after step 7.
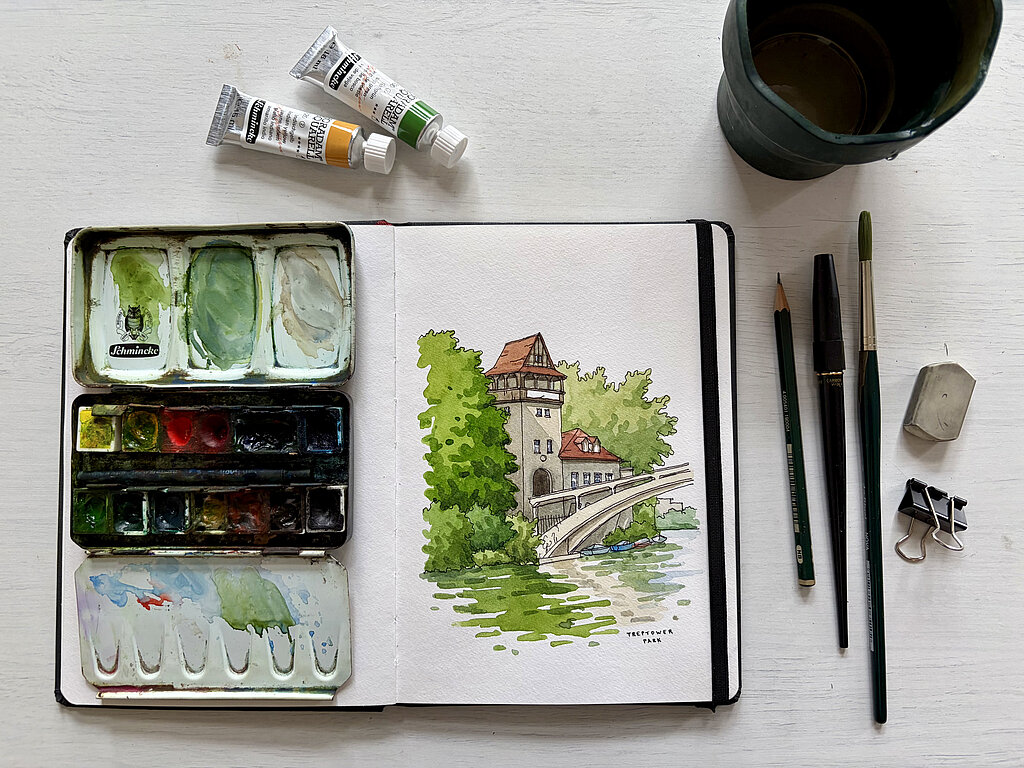
Used materials:
Schmincke Horadam Aquarell Colours:
- sepia brown (663),
- yellow ochre (655),
- ultramarine blue (496),
- English-Venetian red (649),
- sap green (530),
- Indian yellow (220),
- helio turquoise (475)
Paper:
Watercolor sketchbook - e.g. from Hahnemühle (for this tutorial, Danny used a Watercolor Book from Hahnemühle, size A5, in portrait/vertical format)
Brushes:
A watercolor brush with a round point, e.g. da Vinci NOVA Synthetics brush (Serie 1570) in size 8
Pencil and pen:
- Pencil for the preliminary sketch.
- A fineliner or fountain pen with waterproof ink for the line work - e.g. Platinum Carbon Desk Pen with Platinum Carbon ink cartridges or Lamy Safari fountain pen with De Atramentis document ink (converter necessary if using the latter)
Other:
- Eraser,
- water container,
- foldback clips (if working in a sketchbook)
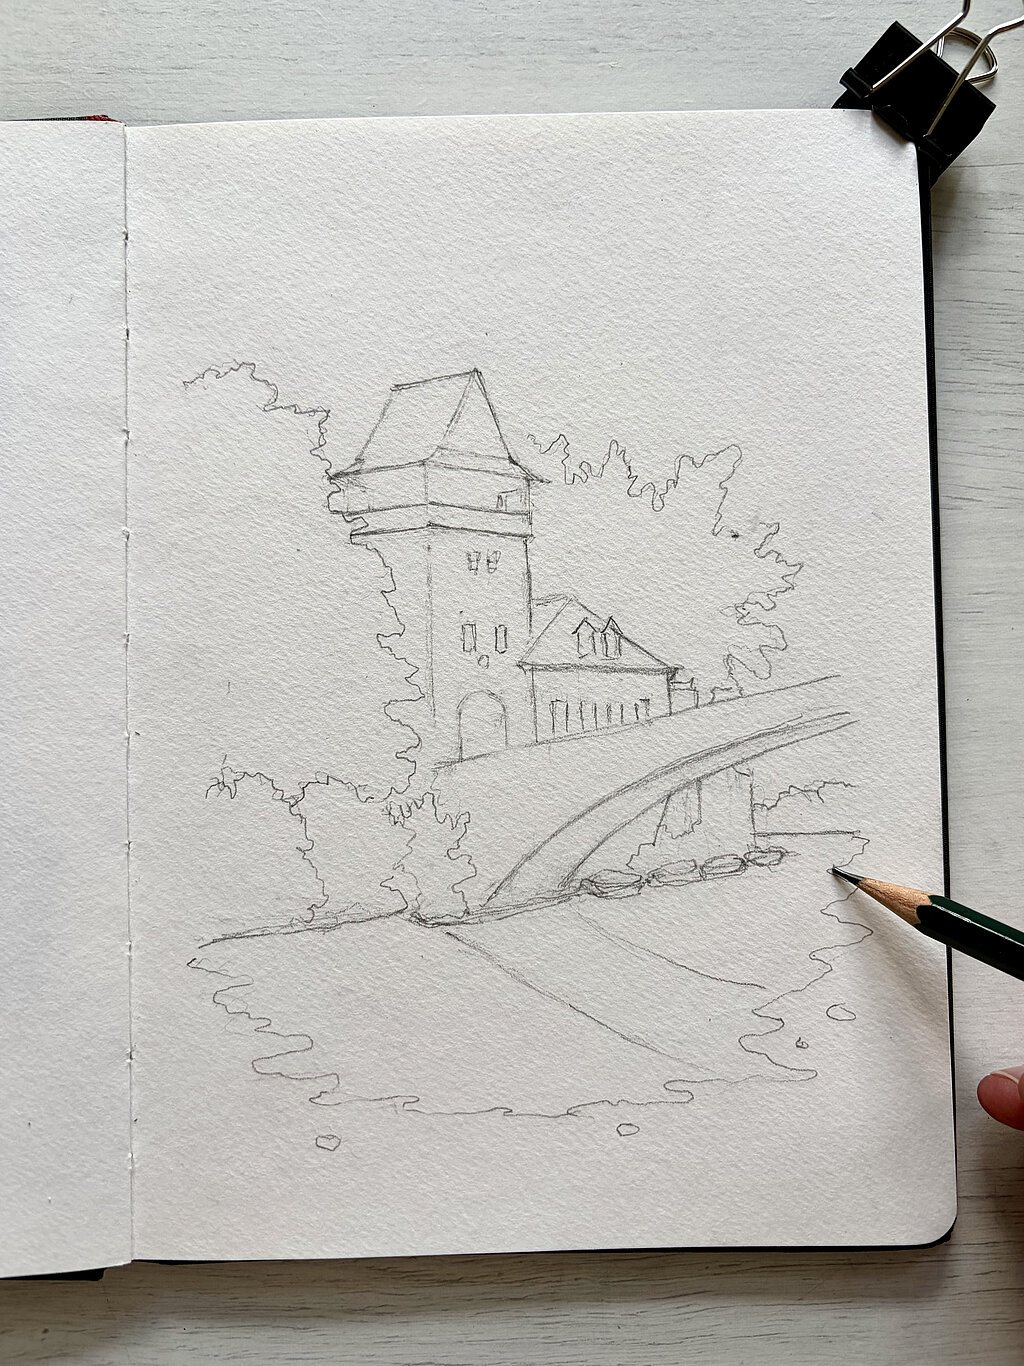
Step 1: Pencil sketch and composition
To start off, I always like doing a rough pencil sketch so that I can determine the composition and layout. Here, I focus on getting rough shapes on the page and determining my sketch’s outer edges, since I feel that sketches really stand out when they have room to breathe and I don’t paint to the end of the page.
In the case of this sketch, I’m reducing trees and greenery to rough outlines (we’ll add the leaves and texture later with paint). For the water and reflections, I’m also defining the areas ahead of time in pencil.
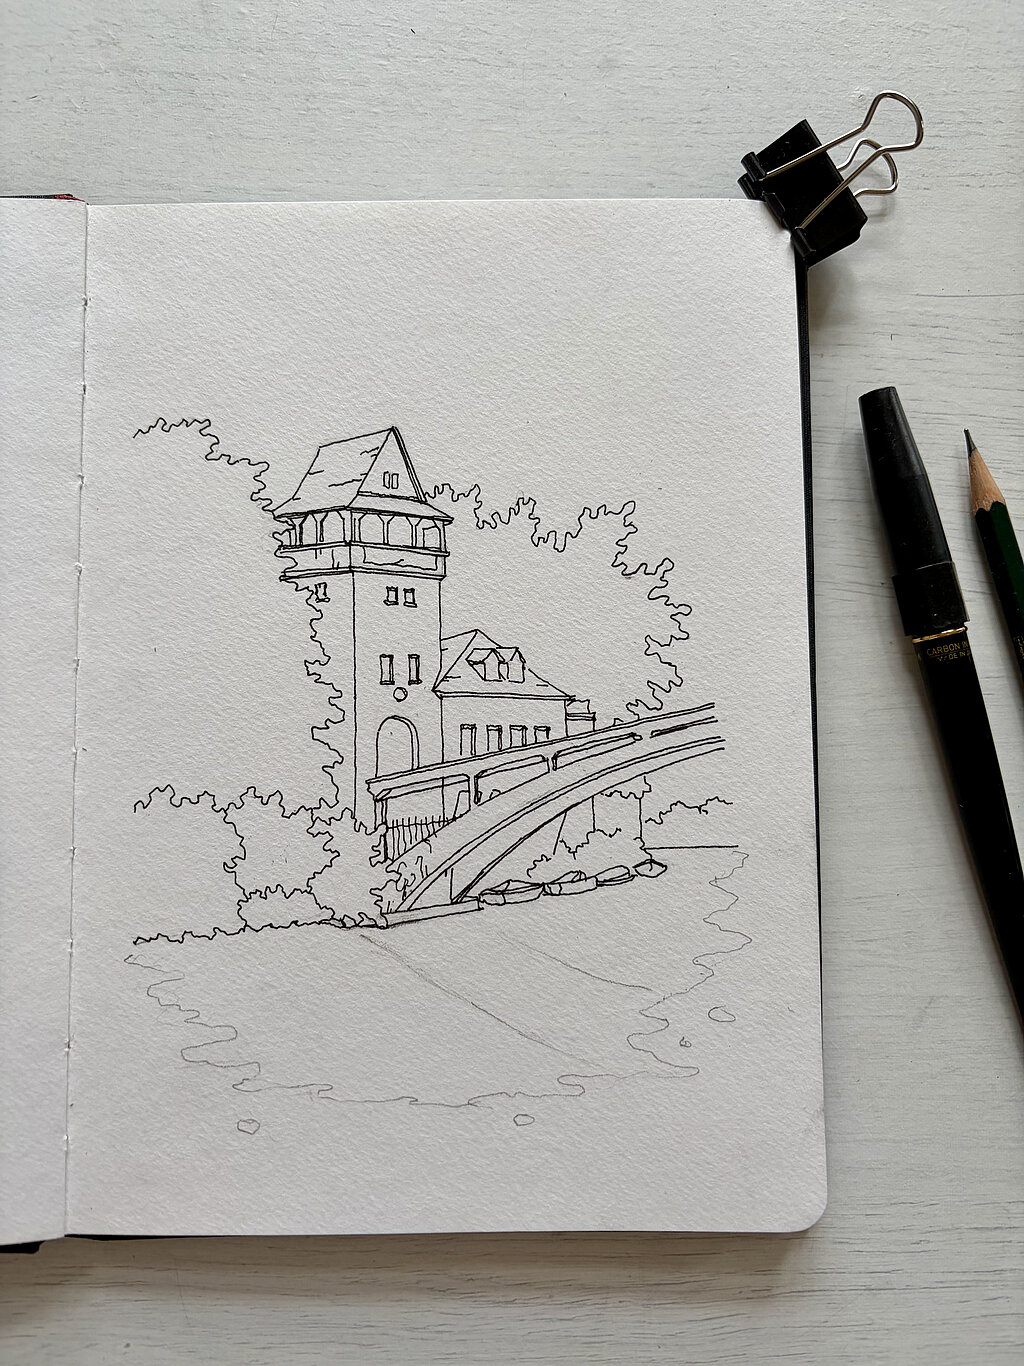
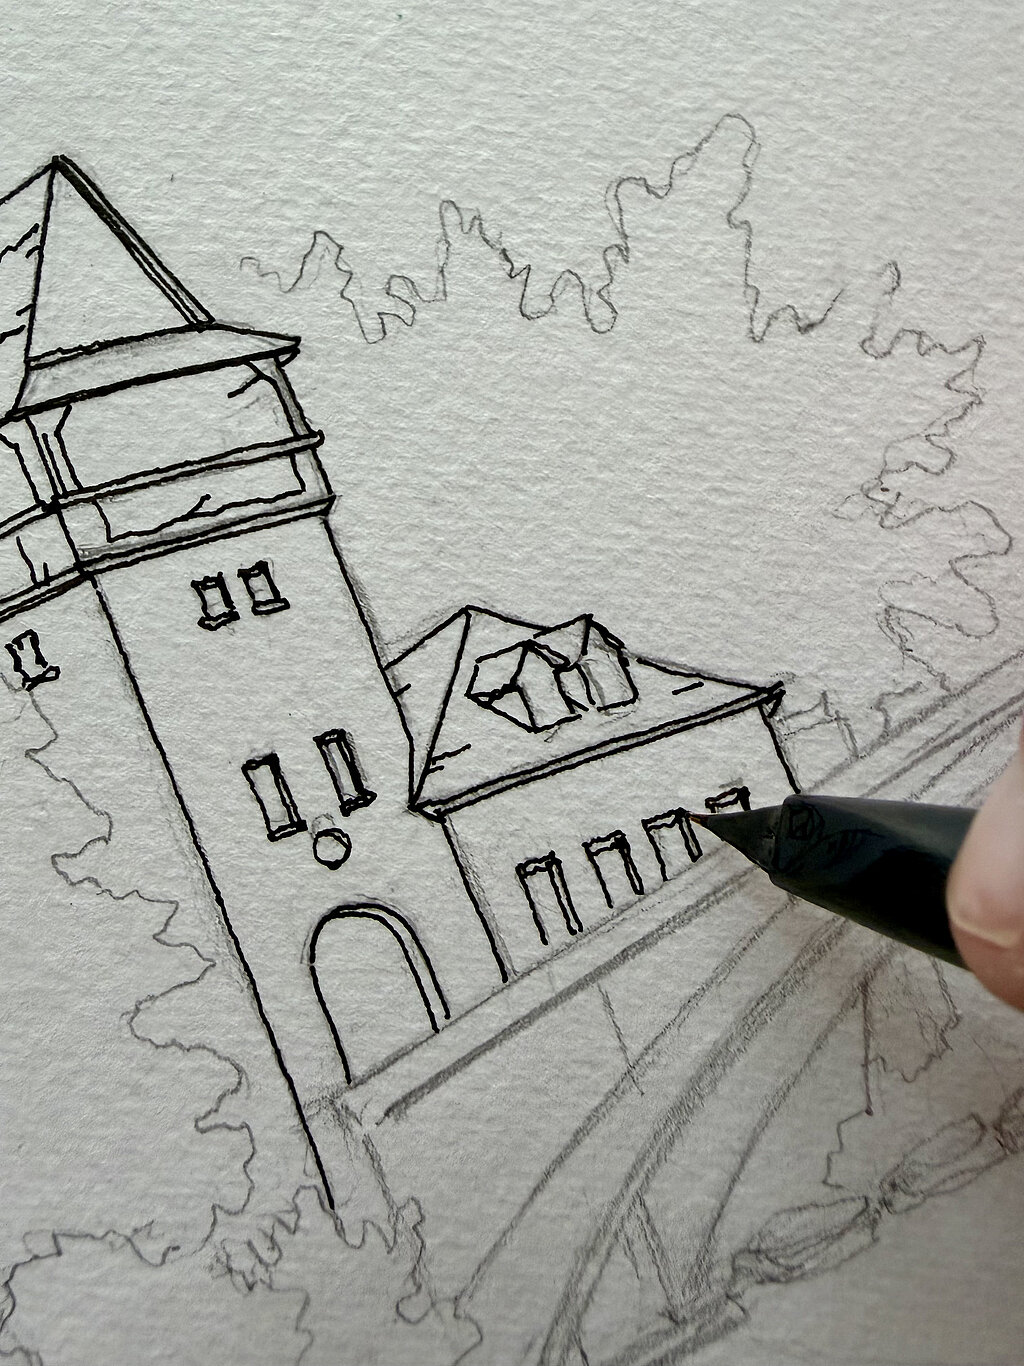
Step 2: Ink sketch and minor details
Once my pencil outline is complete, I start by adding details with a fountain pen with waterproof ink (you can also use waterproof fineliners). For certain areas - like the roof of the building - I add a few marks and squiggles to hint at texture. I also like to draw the inner walls of windows to give my buildings more depth. However, as for the trees, I still only draw the outline with ink.
As for water and reflections, I completely ignore this part until I add watercolors, since I don’t want too much texture here. Important: Don’t go over the lower edges of the water area with ink (the lines at the very bottom of the page), otherwise this will look too harsh.
Once I’ve finished the inking step, I erase the pencil lines underneath the trees and building - although I’ll leave the pencil lines for the water and bridge reflection in the lower half of the page.
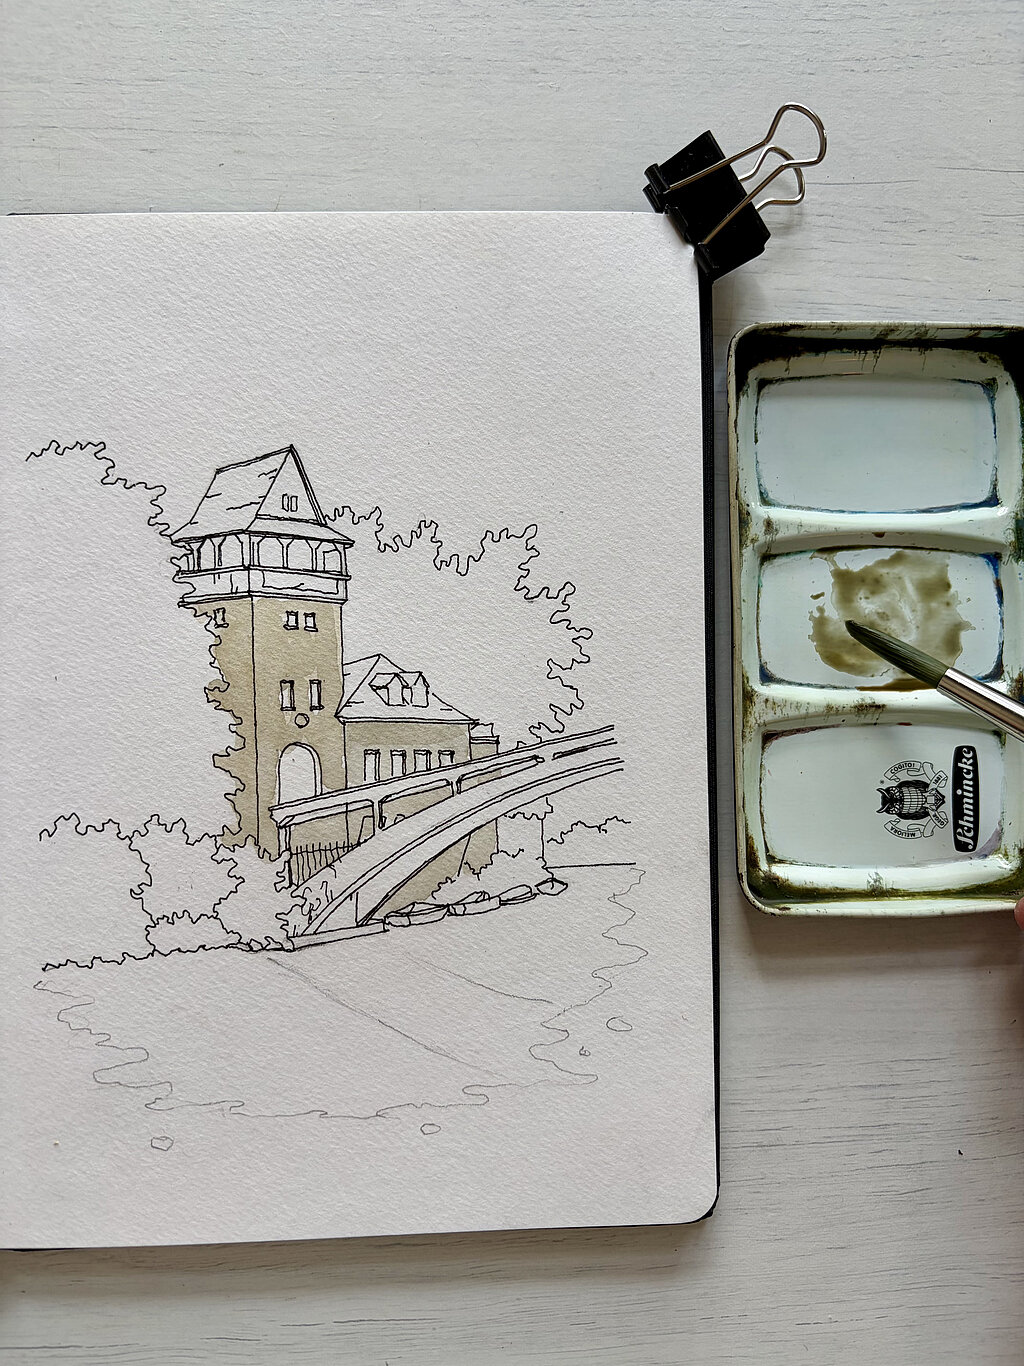
Step 3: First watercolor layer and building facade
Now it’s time to start painting!
When I have sketches with both nature and architecture, I find it easiest to do the architectural elements first, usually because building facades have a lighter tonal value than other elements (e.g. trees) and it’s easier to mix the building’s colors without getting distracted by greens and yellows on my page.
Here, I’m starting with the tower by using sepia brown as a base and tailoring this with a bit of yellow ochre and ultramarine blue. For the bridge, I’ll also use sepia brown but will add more yellow ochre, so that the bridge appears lighter in value than the building behind it.
Tip: Try not to have too much water on your brush (or on your paper), so that the layers dry quickly. You want the consistency of your washes to be more milky rather than watery.
Step 4: Second watercolor layer and building shadows
Once the first layer of the building has dried completely, I can add shadows. I’ll continue with a base color of sepia brown (and a bit of yellow ochre and/or ultramarine blue to warm or cool the mixture), except this time I’ll make the consistency slightly thicker so that I don’t dissolve the layer underneath.
I’ll add this second layer - which corresponds to shadows - onto the building and the tower, but I won’t add a second layer to the bridge so that this part stands out from the darker area behind it.
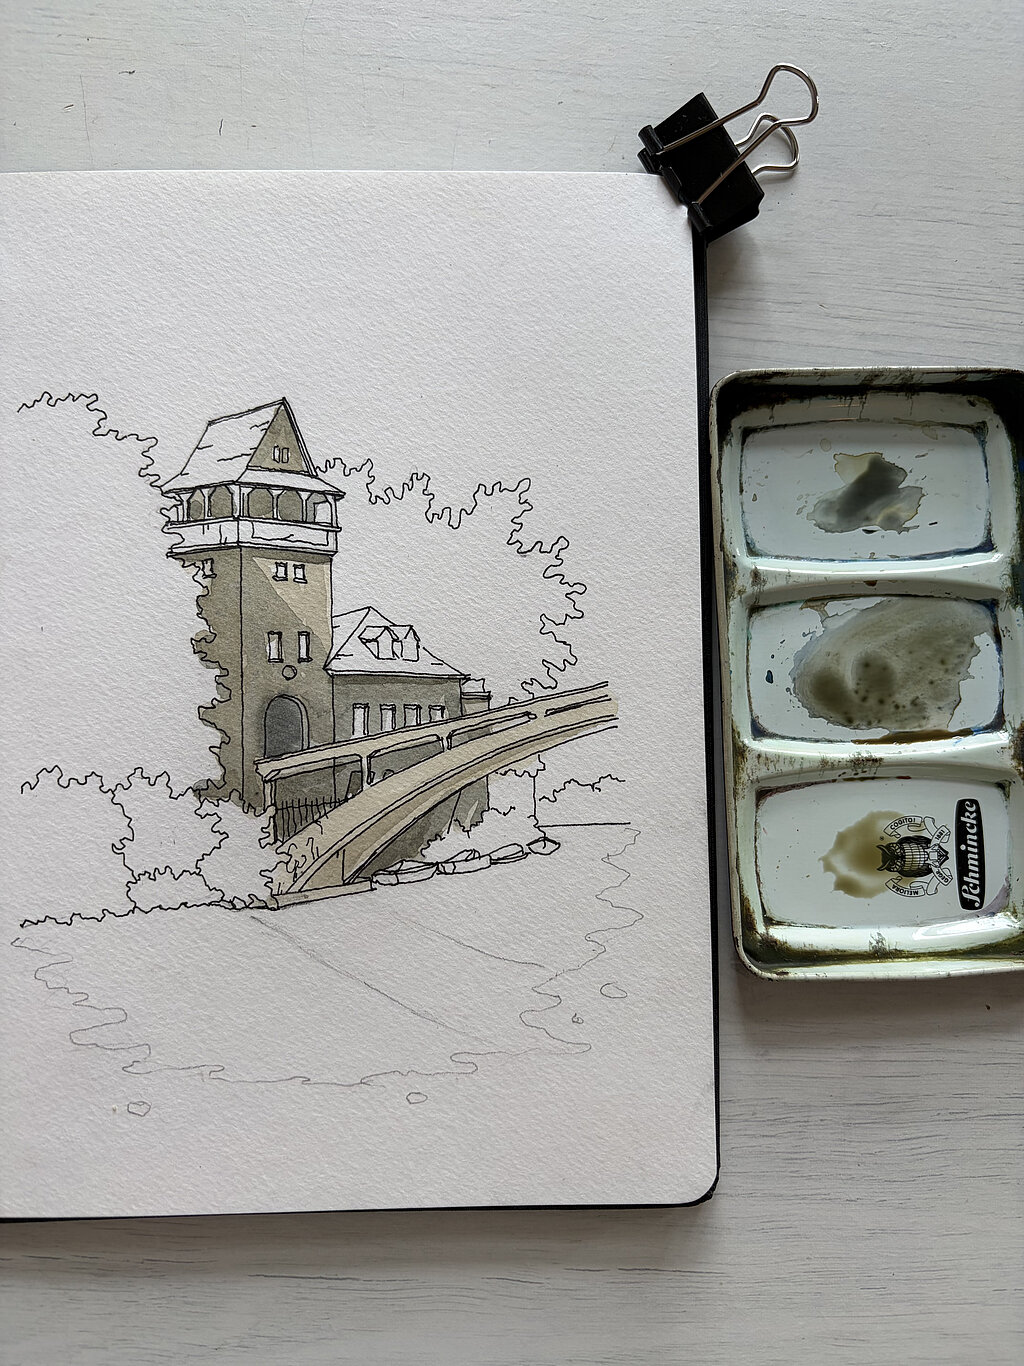
Step 5: Roofs, windows and darkest building shadows
Now it’s time to finish up the building.
For the roofs, I’m using a mixture of English-Venetian red and yellow ochre. For the woodwork at the top of the tower, I can use sepia brown directly out of the tube or pan.
For the windows and tunnel, I’m using a thicker mixture of ultramarine blue and English-Venetian red to produce a nice gray tone.

Step 6: First watercolor layer for trees and greenery
For trees and greenery, I also use a layered approach; that is, I add a first layer, let it dry, and then add a second thicker layer that corresponds to the shadows.
My go-to base for trees and plants is sap green. For this sketch, I’ll use sap green and add some Indian yellow, ultramarine blue and/or English-Venetian red to adjust the saturation and temperature.
Important: Even though the color of a lot of plants and trees looks the same on location, I’m exaggerating the difference in green hues to add more variety.
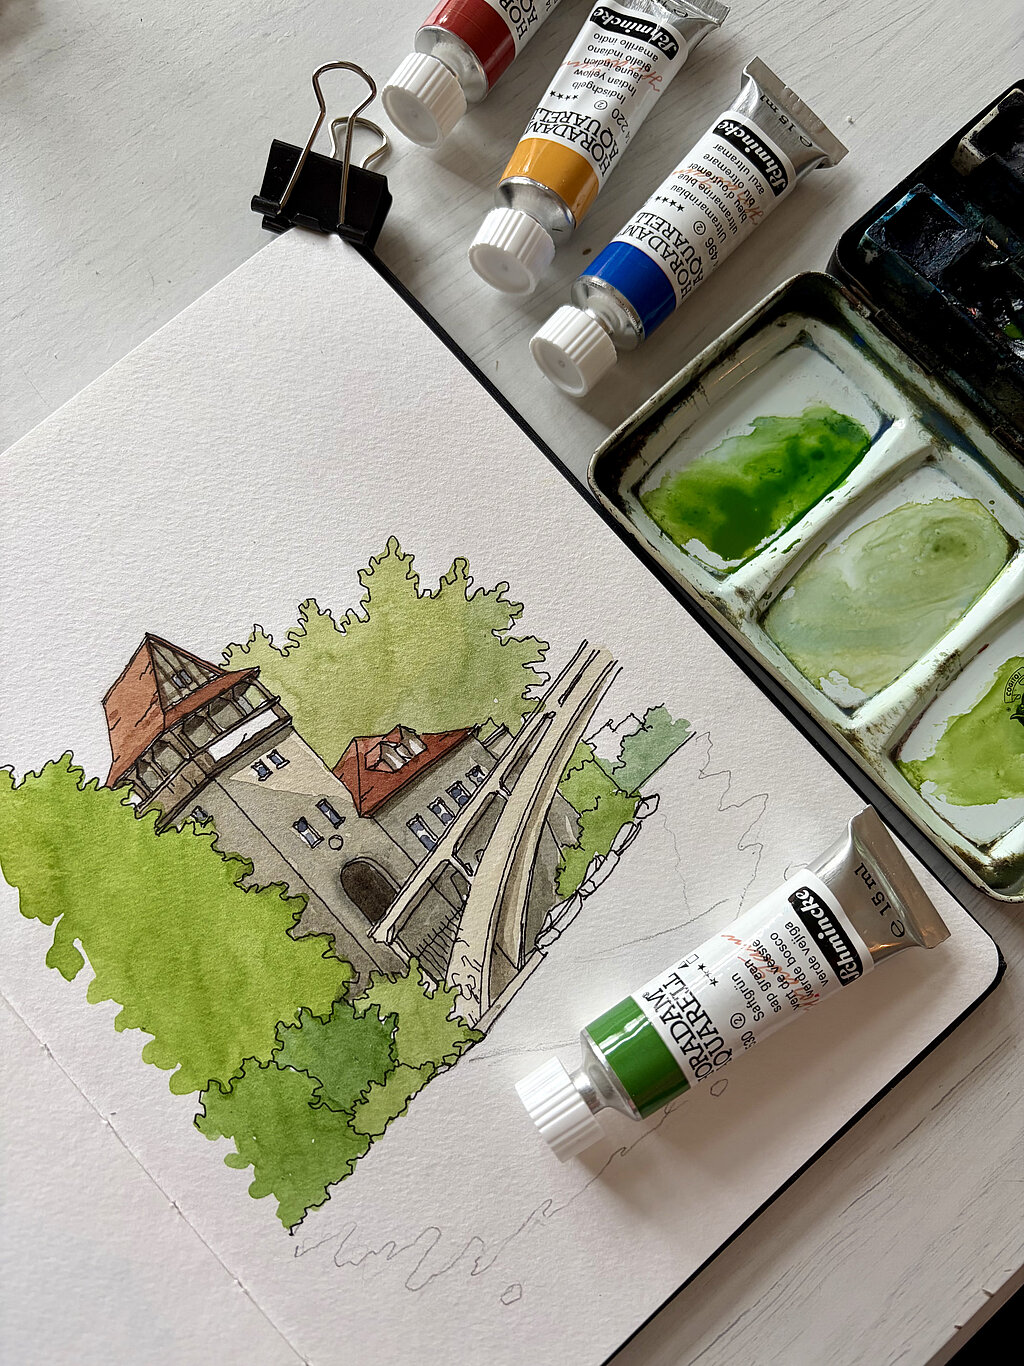
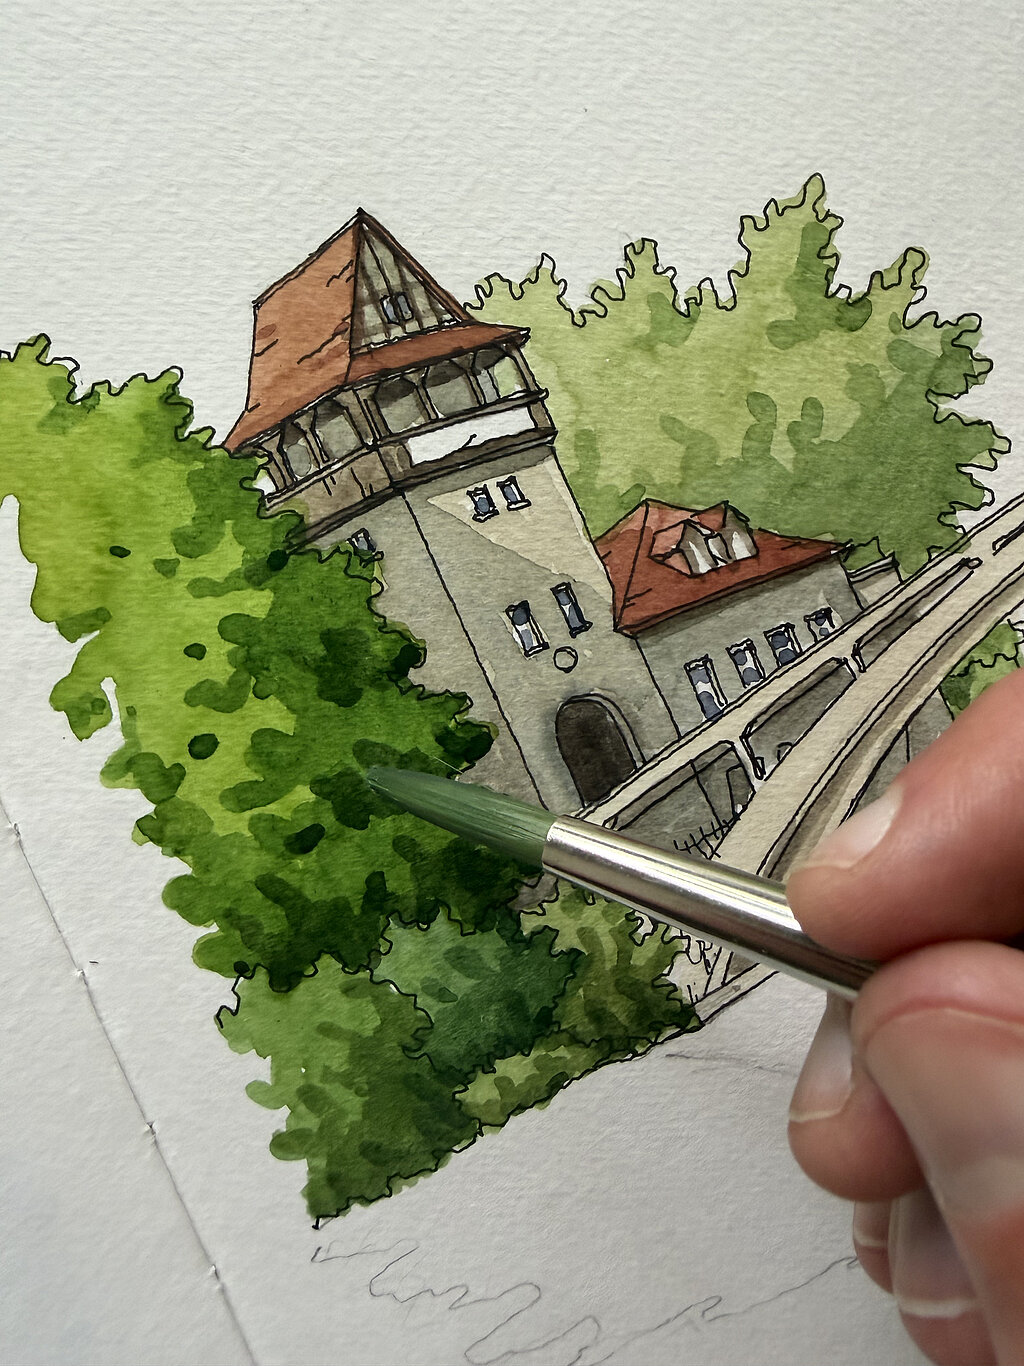
Step 7: Second watercolor layer and shadows of trees and greenery
Now I’m adding a second layer with a thicker consistency for the shadows in the trees. In some cases, like the big tree to the left, I might even need a third layer for the darkest areas. Conversely, for the large tree behind the building on the right, I’m making the shadows lighter so that everything stays in the background.
Important: Make sure the contours of your second layer aren’t too geometrical when it comes to plants and greenery. Instead, think of the edges as little fingers that come out unevenly from the shadow areas to create a more natural look and pattern.
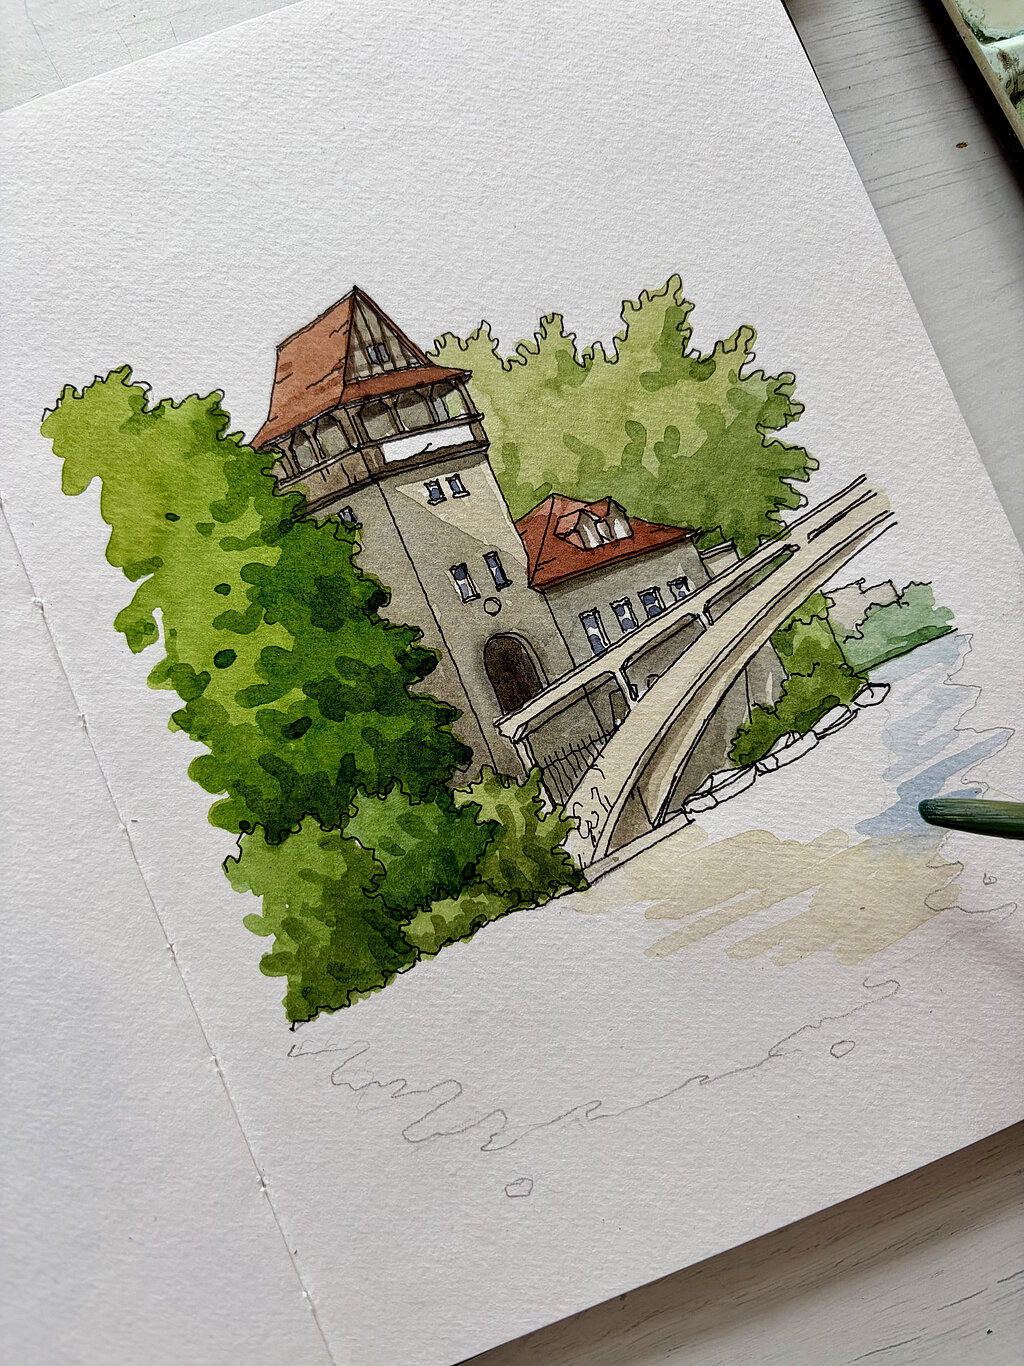
Step 8: First layer of water and lightest reflections
If you’re a beginner and are feeling uncomfortable with water, you may want to stop here. Otherwise, we can now add the reflections in the water.
For the reflections, I find it easiest to start with the lightest element, so I’ll hint at the bridge with some yellow ochre and sepia brown. I’ll also add a tiny bit of a sky reflection with ultramarine blue and helio turquoise to the lower right part of my water.
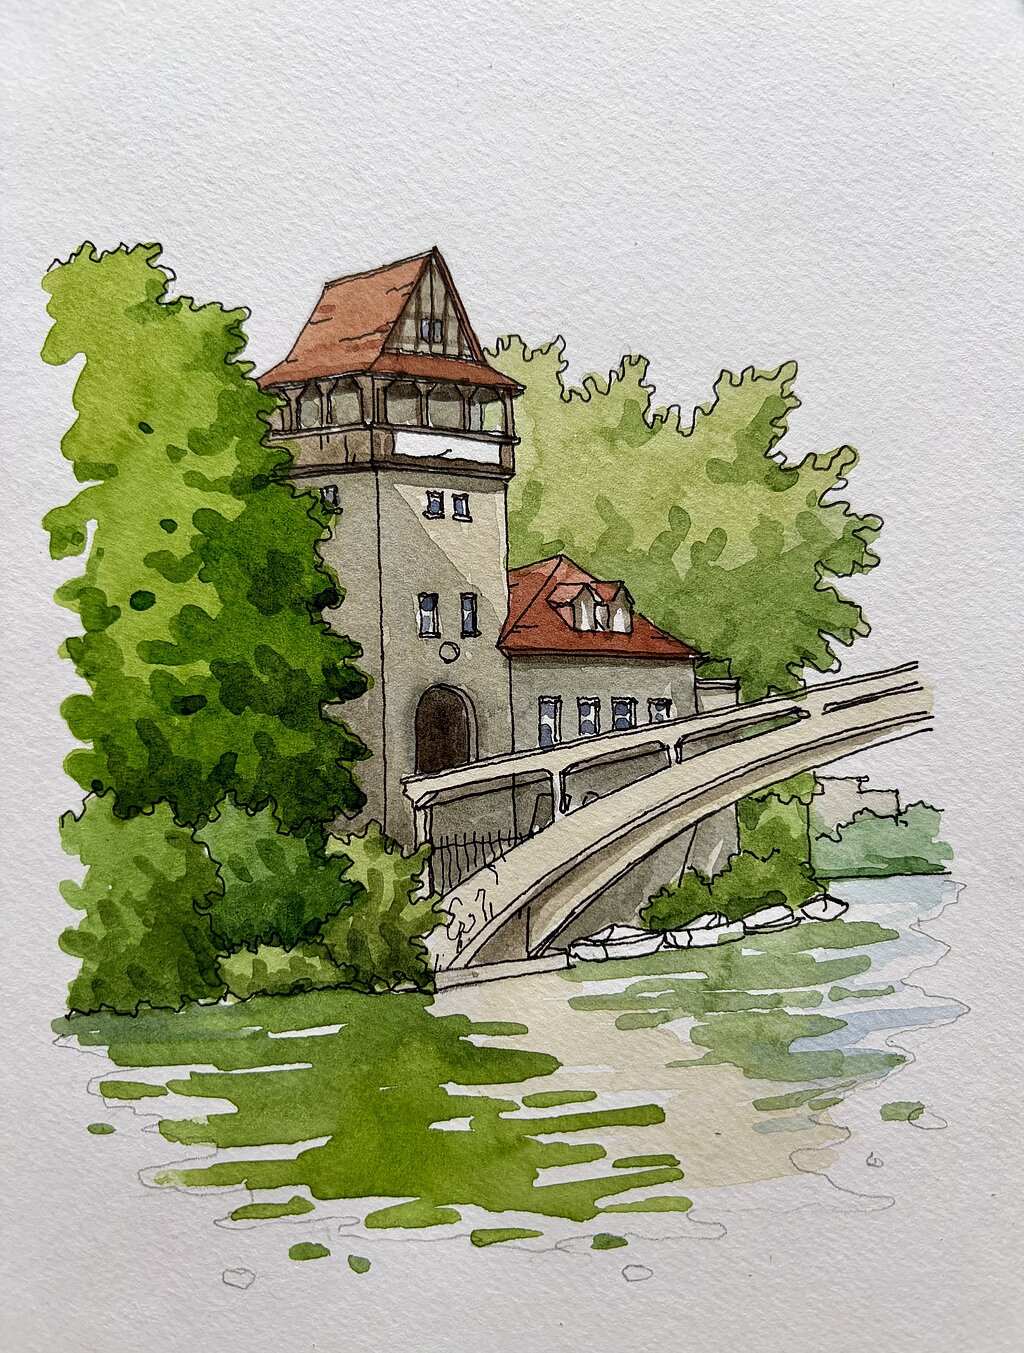
Step 9: Reflections for trees and plants
Now I can start with the reflections for the trees. Here, it’s important to mix a lot more than I think I’ll need, since I need to do the reflections in one go without taking a break or lifting my brush from the page.
Once I’ve prepared my base green (in this case, I’m once again using sap green and a bit of Indian yellow and ultramarine blue), I’ll add it swiftly to the page in a back-and-forth motion while leaving some white, unpainted areas in between. The reflections will be added until I’ve filled up the designated area, which is why it’s helpful to have the pencil outlines I did at the very beginning of the sketch.
Just a tip: If you’re having trouble getting the movement of your brush correct, try imagining it as a pendulum that swings from one side to the other.
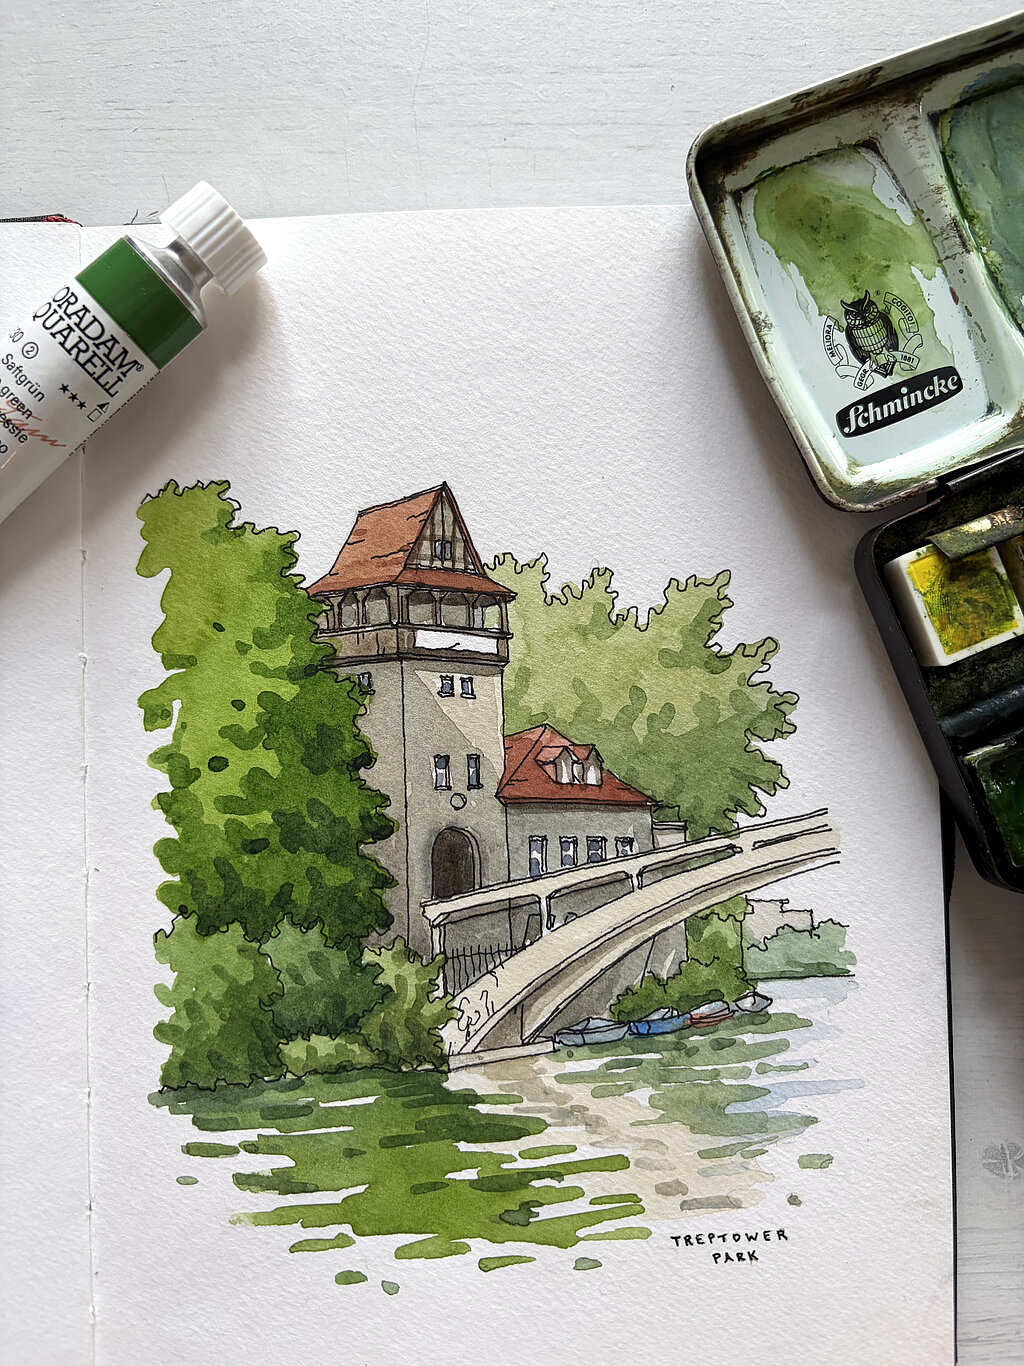
Step 10: Second layer of tree reflections and fine-tuning
Now I’m almost at the finish line.
I’ll add a few shadows with a thicker dark green color over the tree reflections (I can make my base green darker by adding some ultramarine blue and English-Venetian red). I’ll also add some shadows into the bridge reflection with sepia brown. I’ll then erase the pencil outlines at the very bottom of the page, color in the boats below the bridge, and write the name of the place in the lower right-hand corner to finish things up.
And voilà: An urban sketch of a Berlin park in the summer with both architecture and nature.
The artist

Danny Hawk is an artist and urban sketcher who lives and works in Berlin, Germany. He was born in Atlanta, USA, and moved to Germany in 2012 after graduating from university with degrees in German and International Relations.
Although Danny sketched and painted often during his high school years in Ohio, it wasn’t until 2017 when he joined his local Urban Sketchers chapter - at the time in Frankfurt am Main - that he discovered his true passion for art.
Danny loves the way ink and watercolor complement one another and enjoys sketching architecture, urban scenes and landscapes - especially while traveling or visiting a new city.
You can learn more about Danny Hawk here:
Instagram: @dannyjhawk
